To replace your AC compressor capacitor, first, shut off power to the unit at the circuit breaker or fuse box to avoid electrical shock. Locate the faulty capacitor, usually in the compressor unit or capacitor cover, and disconnect three electrical connections. Remove the old capacitor, taking care not to touch internal components. Install a new capacitor, ensuring correct orientation and secure mounting. Reconnect electrical connections, following the manufacturer's specifications. Now that you've got the gist, continue to learn the step-by-step process to replace your AC compressor capacitor safely and efficiently.
Key Takeaways
- Shut off the power to the AC unit at the circuit breaker or fuse box to avoid electrical shock or injury.
- Identify the faulty capacitor, usually located in the compressor unit or capacitor cover, and disconnect its electrical connections.
- Remove the old capacitor from its mounting bracket, taking care not to touch internal components, and discard it.
- Install the new capacitor, ensuring correct orientation and secure mounting, then reconnect electrical connections following the manufacturer's specifications.
- Verify all electrical connections are tight and meet the manufacturer's specifications before turning the power back on.
Shut Off Power to the AC Unit
First, switch off the power to the AC unit at the circuit breaker or fuse box.
You don't want to risk electrical shock or injury while working on the capacitor. Power outages can be inconvenient, but they're a lot safer than getting zapped by live wires.
Make sure you identify the correct breaker or fuse and flip the switch or pull the fuse. Verify the unit is completely off by checking the thermostat or waiting for the compressor to stop running.
Electrical safety is paramount when working with electrical components, so take your time and be methodical. With the power off, you're ready to begin the replacement process.
Locate the Faulty Capacitor
You'll need to find the faulty capacitor, which is usually located in the compressor unit or the capacitor cover.
Check the capacitor labeling to ensure you're identifying the correct component, as it may be labeled as "C" or "Capacitor".
Visually inspect the capacitor for signs of damage, such as burn marks, swelling, or corrosion, to confirm it's the faulty part.
Identify Capacitor Location
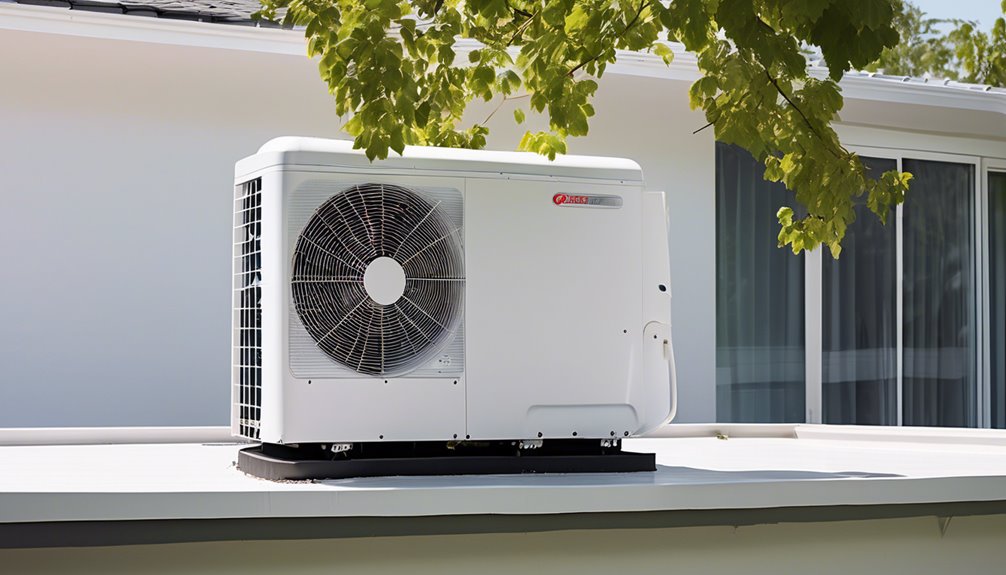
Your air conditioning unit's capacitor is usually located in the outdoor condenser unit or sometimes in the indoor air handler unit.
You'll typically find it mounted on the side or top of the unit, often with other electrical components.
To help you identify the capacitor, refer to your unit's capacitor diagram or user manual.
The capacitor diagram will show you the capacitor's exact location and its connections to other components.
Look for a cylindrical or oval-shaped component with two or three terminals.
The capacitor components, such as the terminals and casing, may be labeled or color-coded to indicate their function.
Take note of the capacitor's orientation and the wiring connections before you start the replacement process.
Check Capacitor Labeling
Now that you've identified the capacitor's location, it's time to examine the labeling on the capacitor to determine which one is faulty.
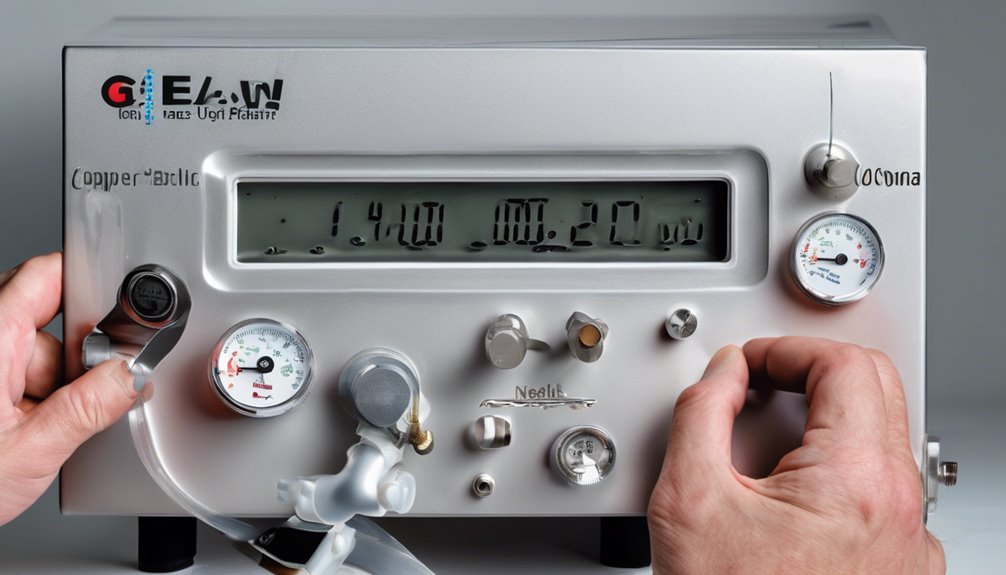
Check the capacitor's label for the capacitor ratings, such as voltage, capacitance, and power factor. You should also identify the capacitor type, whether it's a run capacitor, start capacitor, or a dual capacitor.
Compare the ratings and type with the manufacturer's specifications or the replacement capacitor's label. This will help you confirm which capacitor is faulty and needs to be replaced.
Make sure to note the exact specifications, as replacing a capacitor with the wrong ratings can cause further damage to your AC compressor.
Visually Inspect Capacitor
The capacitor's physical appearance can reveal signs of failure, making a visual inspection a crucial step in locating the faulty capacitor. You'll want to look for signs of wear, damage, or aging. Check for bulges, cracks, or burn marks on the capacitor's casing. Make sure the terminals are clean and free of corrosion.
| Visual Inspection Checklist | What to Look For |
|---|---|
| Bulges or Swelling | Signs of internal failure |
| Cracks or Breaks | Physical damage |
| Burn Marks or Discoloration | Overheating or electrical stress |
Remember to exercise electrical safety during capacitor maintenance. Ensure the power is turned off and the system is de-energized before performing any inspections or repairs.
Disconnect Electrical Connections
Three electrical connections need to be disconnected from the AC compressor capacitor: the compressor motor wire, the fan motor wire, and the common wire.
Before you start, ensure you've turned off the power to the compressor at the circuit breaker or fuse box. Verify this with a voltage check to guarantee your safety. Electrical safety is crucial when working with live wires.
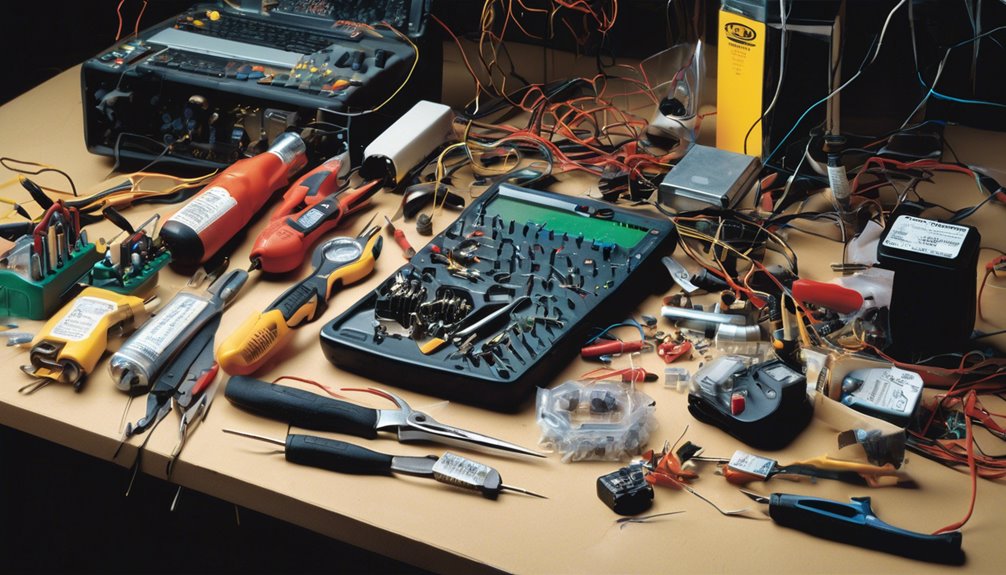
Use a non-contact voltage tester to confirm there's no voltage present. Once you've confirmed it's safe, use a wrench or pliers to loosen the terminal connectors. Gently pull the wires off the capacitor terminals.
Set the wires aside, taking note of their original positions for reconnection later.
Remove the Old Capacitor
You'll find the capacitor housing mounted on the compressor unit or attached to the side of the condenser coils.
To access the old capacitor, you'll need to disconnect the wires connected to it, which are usually marked with a "+" or "-" sign.
Be careful not to touch any internal components or wires as you prepare to remove the old capacitor.
Locate the Capacitor Housing
Your air conditioning unit's capacitor housing is usually a plastic or metal box located near the compressor and fan motor.
It's often held in place by screws or clips. Take a closer look at the AC component layout to identify the capacitor's placement. You might need to refer to your unit's manual or search online for specific guidance.
Typically, the capacitor housing is mounted on the side or top of the compressor or fan motor. Be careful not to touch any internal components or wires as you search for the capacitor housing.
Once you've located it, you're ready to remove the old capacitor and prepare for the new one.
Disconnect Capacitor Wires
With the capacitor housing located, it's time to disconnect the wires and remove the old capacitor.
Be cautious when handling the capacitor, as it may still hold an electric charge. Make sure to discharge it using a capacitor discharge tool to avoid electrical shock.
Next, identify the wires connected to the capacitor. Typically, you'll find two to four wires, depending on the AC compressor model.
Use needle-nose pliers to grip the wire terminals, and gently pull them off the capacitor. Take note of the wire colors and their corresponding terminals to ensure correct reconnection later.
Prioritize wire safety by keeping them away from metal components and other wires to prevent short circuits.
Install the New Capacitor
The new capacitor sits ready to take its place, waiting to breathe new life into your AC unit.
Before installing it, ensure you've got the correct capacitor orientation. Check the manufacturer's instructions or the capacitor's label for guidance. Typically, the capacitor's terminals have a specific configuration, so make sure you align them correctly.
You don't want to risk damaging the capacitor or the AC unit. Gently push the new capacitor into its mounting bracket, taking care not to touch any internal components.
Secure it firmly with the provided screws or clips. With the capacitor in place, you're one step closer to getting your AC unit up and running again.
Reconnect Electrical Connections
Now that the new capacitor is securely in place, you'll need to reconnect the electrical connections to get the AC unit's power flowing again.
Make sure to follow the connection protocols to avoid any misconnections that could damage the system.
- Reattach the wires to the capacitor, ensuring proper wire management to prevent tangling or pinching.
- Reconnect the compressor and fan motor wires, double-checking the connections for secure fits.
- Verify that all electrical connections are tight and meet the manufacturer's specifications.
- Double-check the capacitor's voltage rating to ensure it matches the AC unit's requirements.
Frequently Asked Questions
Can I Replace the Capacitor Myself or Do I Need a Professional?
You're wondering if you can tackle the job solo, but before diving in, consider your DIY confidence and safety concerns – if you're unsure, it's best to call a pro to avoid electrical shocks or further damage.
How Long Does It Take to Replace an AC Compressor Capacitor?
When tackling a DIY project, you'll face time constraints, but if you have the confidence, replacing an AC compressor capacitor typically takes around 30 minutes to an hour, depending on your comfort level with electrical work.
What Are the Signs of a Failing AC Compressor Capacitor?
You notice your AC is struggling when you see signs of a failing capacitor, like reduced airflow, humming, or clicks. Capacitor wear and electrical surges can cause these issues, so it's essential to identify them before they lead to a breakdown.
Can I Use a Capacitor With a Different Microfarad Rating?
You're wondering if you can use a capacitor with a different microfarad rating. Generally, you shouldn't, as rating variations affect capacitor compatibility; using a mismatched capacitor can lead to system inefficiencies, overheating, or even complete system failure.
Will Replacing the Capacitor Fix Other AC Unit Issues?
You're wondering if replacing the capacitor will magically fix all your AC unit's issues. It won't, unless the capacitor was the root cause. Perform a root cause analysis to identify systemic failures, as swapping it out might just mask the real problem.
Conclusion
You've successfully replaced the AC compressor capacitor. Double-check all connections to ensure they're secure and not loose. Plug in the AC unit and turn it back on. Listen for unusual noises or vibrations, and check that the unit is cooling properly. If everything seems normal, you've fixed the issue. Otherwise, consider seeking professional help to avoid further damage or safety risks.