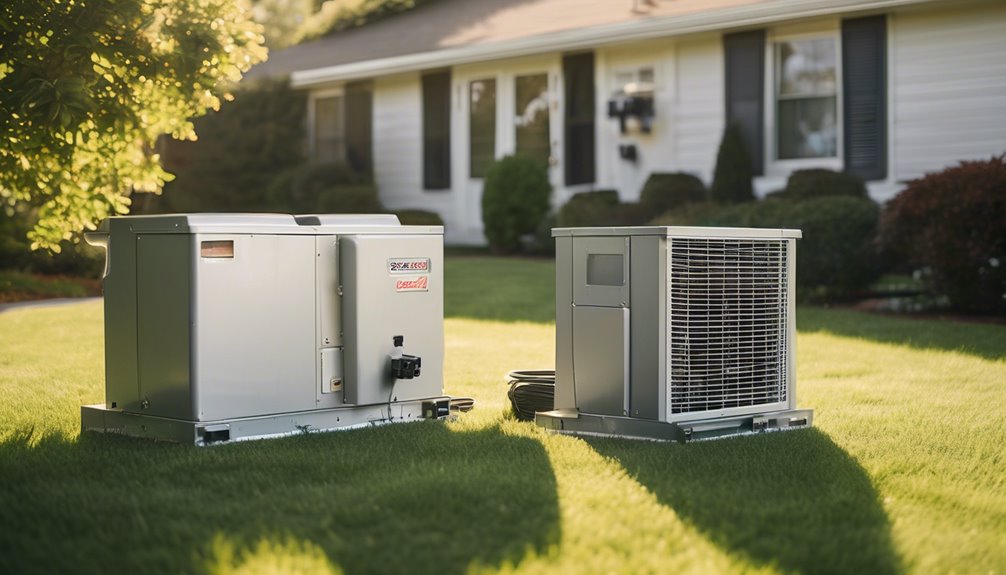
To replace your AC blower motor, start by gathering necessary tools and materials, ensuring a new motor matches your AC unit's specs. Shut off power to the AC at the circuit breaker or fuse box, then access the blower motor compartment by removing outer panels. Disconnect electrical connections, remove mounting screws and brackets, and inspect and clean the motor housing. Install the new motor, reconnect electrical connections, and reassemble the compartment. With these steps, you're on your way to a successful replacement – and a more efficient AC unit.
Key Takeaways
- Shut off power to the air conditioner at the circuit breaker or fuse box to prevent electrical shocks and accidental starts.
- Ensure a new blower motor matches the AC unit's specifications and purchase a capacitor if required by the AC unit.
- Disconnect electrical connectors to ensure motor safety, identifying connector types and locations for reinstallation.
- Clean the motor housing and ventilation slots to ensure efficient operation of the new motor and remove debris, dirt, or dust.
- Double-check all connections before turning on the power, ensuring wire colors match and connections are secure and tight.
Prepare the Necessary Tools and Materials
You'll need several tools and materials to replace your AC blower motor successfully.
Tool selection is crucial, so gather a screwdriver, pliers, and a wrench to dismantle the motor housing. You may also need a multimeter to test the motor's electrical connections.
For material preparation, ensure you have a new blower motor that matches the specifications of your AC unit.
Additionally, get some wire connectors and electrical tape to secure the new motor's connections. Don't forget to purchase a capacitor if your AC unit requires one.
With these tools and materials ready, you'll be well-prepared to tackle the replacement process.
Shut Off the Power to the Air Conditioner
With your tools and materials at the ready, shut off the power to the air conditioner at the circuit breaker or fuse box to prevent any accidental starts or electrical shocks during the replacement process.
This crucial step ensures your safety while working on the blower motor. Remember, circuit safety is paramount when dealing with electrical components.
- Prevents electrical shocks: You don't want to risk getting electrocuted while working on the blower motor.
- Saves energy: Shutting off the power helps maintain energy efficiency by avoiding unnecessary energy consumption.
- Protects the motor: Accidental starts can damage the new blower motor, so it's essential to shut off the power to prevent this.
- Gives you peace of mind: Knowing the power is off allows you to focus on the replacement process without worrying about electrical hazards.
Access the Blower Motor Compartment
You'll need to access the blower motor compartment to replace the motor.
To do this, you'll have to remove the outer panels that cover the compartment, usually held in place by screws or clips.
Once you've got the panels out of the way, you'll see the motor housing and can start disconnecting the electrical connectors that power the motor.
Remove Outer Panels
Remove the screws that hold the outer panels in place, typically located at the back or sides of the air conditioning unit.
You'll need to identify the correct screws to remove, as some may be holding other components in place. Take your time and examine the unit carefully to avoid stripping or damaging the screws.
- Be gentle: Avoid using excessive force, which can damage the panels or surrounding components.
- Label the screws: Keep track of which screws came from where to ensure correct reassembly.
- Take photos: Document the panel removal process to reference later.
- Work in a well-lit area: Good lighting will help you see the screws and components more clearly.
Identify Motor Housing
The motor housing is usually located at the back or bottom of the air conditioning unit, depending on the model.
You'll find it nestled within the blower motor compartment, which you accessed after removing the outer panels.
Now, take a closer look at the motor housing design. You might notice it varies depending on the motor type and brand.
Some housings are rectangular with a removable cover, while others are cylindrical with a single screw holding the cap in place.
Observe the housing's shape, size, and any visible screws, clips, or latches that hold it together.
This will help you determine the correct approach for accessing the blower motor.
Disconnect Electrical Connectors
With the motor housing design observed, it's time to access the blower motor compartment.
You'll need to disconnect the electrical connectors to ensure motor safety. Locate the connectors attached to the blower motor and identify the type – they can be wire nuts, wire connectors, or even soldered connections.
- Be cautious when handling electrical components to avoid shocks or injuries.
- Use the correct tools to release the connectors, such as a wrench or pliers.
- Take note of the connector types and their respective locations for reinstallation.
- Verify that all connectors are disconnected before proceeding to the next step.
Remember to handle the connectors with care to avoid damaging them or the motor.
Disconnect the Electrical Connections
You'll need to shut off the power to the motor at the circuit breaker or fuse box to ensure your safety while working on the blower motor.
Next, identify the wiring connections to the motor, taking note of the colors and configurations so you can reconnect them correctly later.
Be sure to label the wires if necessary to avoid confusion during reassembly.
Motor Power Shut-Off
Since you're about to work on the electrical connections, make sure you shut off the power to the AC blower motor at the circuit breaker or fuse box.
This is crucial for motor safety, as working with live wires can be deadly. Verify that the power is off using a voltage tester to ensure your safety.
Remember, it's always better to be safe than sorry.
Here are some important reminders:
- Don't risk your life for a simple motor replacement.
- Power backup systems can fail, so double-check the power status.
- Electrical shocks can be fatal, so take your time and be cautious.
- Your safety is the top priority, so don't rush the process.
Identify Wiring Connections
Now that you've ensured the power is off, it's time to identify the wiring connections to the AC blower motor.
Take a close look at the motor and note the wire labels and connection diagrams. You'll typically find these on the motor housing or in the owner's manual.
Identify the wires connected to the motor, including the power wires, ground wires, and any sensor or control wires. Make a mental note or take a photo of the connections to reference later.
This will help you reconnect the wires correctly when installing the new motor. Pay attention to the wire colors, wire sizes, and connection types to ensure a safe and proper reconnection.
Remove the Mounting Screws and Brackets
Two screws and a bracket hold the AC blower motor in place.
You'll need to remove these to access the motor. Take a close look at the screw patterns to ensure you're removing the correct screws. You don't want to strip them or damage the surrounding material.
Before you start, take a deep breath and remember:
Take a deep breath, stay calm, be patient, use the right tools, and keep track of the screws.
- Stay calm: It's just a few screws, you got this!
- Be patient: Take your time, and don't rush the process.
- Use the right tools: Make sure you have a screwdriver that fits the screws perfectly.
- Keep track of the screws: You don't want to lose them in the process.
Now, remove the screws and gently lift the bracket.
You're one step closer to replacing your AC blower motor.
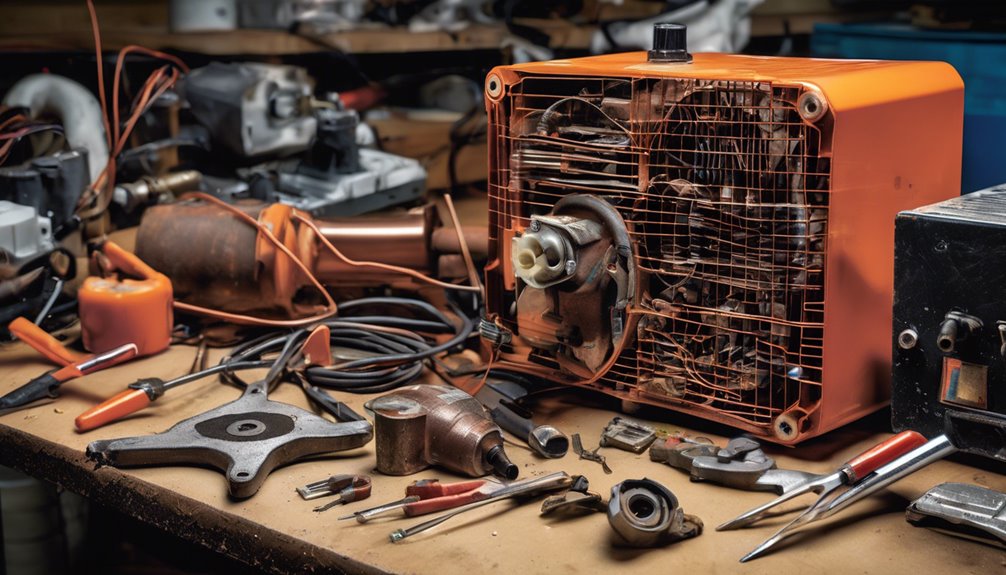
Pull Out the Old Blower Motor
With the screws and bracket removed, you can finally access the AC blower motor.
Now it's time to pull out the old motor. Gently grasp the motor and pull it out of its housing. Be careful not to touch any electrical components or wires.
As you remove the old motor, take a moment to inspect it. Check for signs of wear, rust, or corrosion that may have caused the motor to fail. This inspection can help you identify potential issues that may need to be addressed during the replacement process.
Once you've removed the old motor, set it aside and prepare to install the new one.
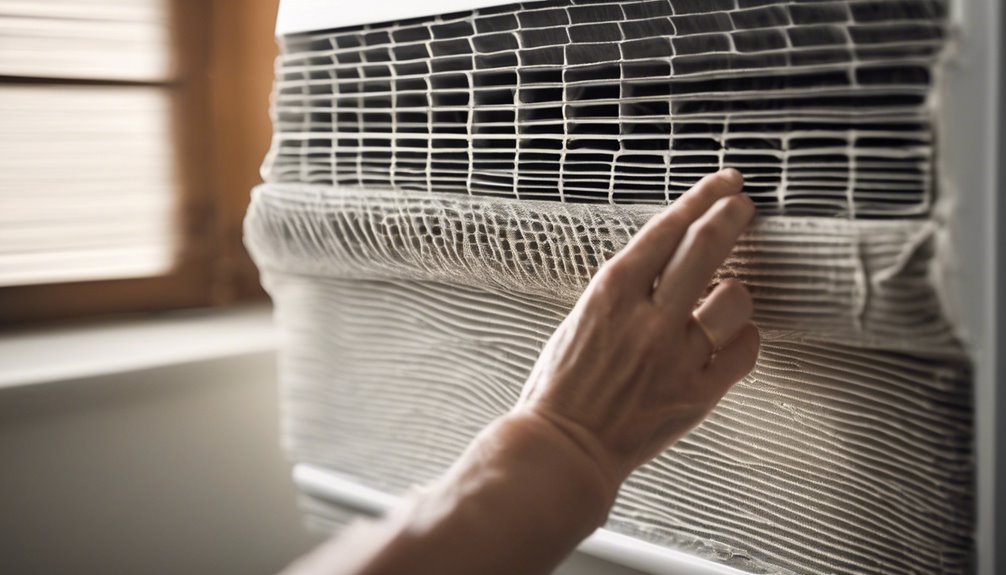
Inspect and Clean the Motor Housing
You've removed the old motor, and it's set aside.
Now, it's time to inspect and clean the motor housing.
This step is crucial to ensure the new motor operates efficiently. Dust accumulation in the housing can lead to airflow restriction, causing your AC to work harder and increase your energy bills.
Take a closer look at the housing and clean out any debris, dirt, or dust.
You can use a soft-bristled brush or a vacuum cleaner to remove the dirt.
Make sure to clean the following areas:
- Ventilation slots: Clear any blockages to ensure proper airflow.
- Motor mounts: Remove any dirt or debris that may affect the new motor's installation.
- Electrical connections: Clean the connections to ensure a secure fit for the new motor.
- Housing interior: Remove any dust or dirt that may have accumulated inside the housing.
Install the New Blower Motor
The new blower motor is ready to take its place.
Ensure it's properly seated and aligned with the mounting bracket. Check the motor alignment to guarantee a smooth operation and prevent vibration.
Secure the motor using the screws or clips provided, making sure they're tightened evenly.
Before proceeding, perform a preliminary motor testing by spinning the motor by hand to ensure it rotates freely and doesn't bind. This simple test helps identify any potential issues before reconnecting the electrical connections.
With the new motor installed and tested, you're one step closer to getting your AC blower up and running again.
Reconnect the Electrical Connections
Now that the new blower motor is securely in place, it's time to reestablish the electrical connections.
You'll want to ensure that all wires are properly connected to avoid any electrical shocks or fires. Start by identifying the wires and their corresponding connections on the new motor.
Make sure to follow the wire management principles to keep the wires organized and secure.
Proper wire management is crucial to prevent tangles, damage, and electrical hazards, ensuring a safe and efficient installation.
To ensure connection safety, remember to:
- Verify the wire colors match on both the motor and the connector.
- Tighten all connections firmly to prevent loose wires.
- Use wire nuts or connectors to secure any exposed wires.
- Double-check all connections before turning on the power.
Reassemble the Blower Motor Compartment
You'll now reassemble the blower motor compartment by reattaching the blower motor mount to its original position.
Next, make sure to secure the electrical connections tightly to prevent any loose ends.
Finally, replace the blower motor cover to complete the reassembly process.
Reattach Blower Motor Mount
Reattach the blower motor mount by aligning its screw holes with those on the compartment's frame.
Make sure it's securely positioned to ensure proper motor alignment. Adjust the mount as needed to achieve a snug fit.
- Tighten the screws in a star pattern to avoid damaging the mount or compartment.
- Double-check motor alignment to ensure it's properly seated and balanced.
- Verify mount adjustment is correct to prevent vibration or noise during operation.
- Take a deep breath and feel proud of your progress so far!
Secure Electrical Connections Tight
With the blower motor mount securely in place, it's time to focus on reassembling the compartment and securing the electrical connections.
Ensure you follow proper electrical safety guidelines to avoid shocks or fires. Identify the connection types, such as wire nuts or connectors, and make sure they're securely fastened.
Tighten any loose connections, but avoid overtightening, which can damage the wires. Double-check that all connections are secure and not touching any metal components.
Verify that the wiring is properly routed and not pinched or crushed. By securing the electrical connections tightly, you'll ensure the blower motor operates safely and efficiently.
Replace Blower Motor Cover
Now that the electrical connections are secure, turn your attention to reassembling the blower motor compartment by replacing the blower motor cover.
This is a crucial step in completing your blower upgrade and ensuring proper motor maintenance. Make sure the cover is properly aligned with the compartment and securely fastened.
- Tighten screws firmly to prevent loose connections.
- Check for proper alignment to avoid damaging the cover or compartment.
- Use the correct fasteners to ensure a secure fit.
- Inspect the cover for damage before reinstalling to prevent future issues.
Frequently Asked Questions
Can I Replace the Blower Motor With a Different Horsepower Rating?
You're wondering if you can swap in a blower motor with a different horsepower rating. Generally, it's possible, but you'll need to ensure motor compatibility and consider horsepower conversion to avoid performance or safety issues.
How Do I Know if I Need a Single- or Dual-Speed Blower Motor?
You'll need to determine your speed requirements to decide between single- or dual-speed motor types. Check your AC's manual or manufacturer's website to find the recommended motor type and speed requirements for a proper replacement.
What if My New Blower Motor Doesn't Come With Mounting Screws?
If your new motor doesn't come with screws, you'll need to find compatible alternatives. Check the motor's manual for screw specifications or consult with a supplier to ensure motor compatibility, then explore screw alternatives like clips or adhesives.
Can I Use a Universal Blower Motor in My Air Conditioner?
You're wondering if a universal blower motor will work in your AC. Check the motor compatibility and blower specifications first; if they match, you're good to go, but if not, you'll need a custom-fit motor to ensure proper airflow and performance.
Do I Need to Lubricate the New Blower Motor Before Installation?
Before installing the new motor, you'll need to check if it comes pre-lubricated or requires additional lubrication. Typically, motor bearings have a lubrication schedule, so follow the manufacturer's instructions to ensure proper maintenance and extend the motor's lifespan.
Conclusion
You've successfully replaced your AC blower motor! Make sure to turn the power back on and test the air conditioner to ensure it's working properly. Check for any unusual noises or vibrations from the new motor. If everything seems fine, you're good to go! Remember to dispose of the old motor responsibly. Now, enjoy the cool air flowing through your home once again.