When your air conditioner breaks down, don't panic! You can fix many common issues on your own with the right tools and knowledge. Identify the problem by checking for air leaks, faulty installations, and worn-out parts. Gather essential tools and take safety precautions to avoid accidents. Then, troubleshoot and fix issues like thermostat troubles, refrigerant leaks, and capacitor failures. With these DIY repair tips, you'll be cool and comfortable in no time – and discover even more ways to keep your AC running smoothly.
Key Takeaways
- Identify potential safety hazards, wear protective gear, and consult the user manual before starting AC repairs at home.
- Check for air leaks, faulty installations, and signs of wear and tear to diagnose common AC issues.
- Regularly clean condenser coils and replace air filters every 1-3 months to maintain AC efficiency and performance.
- Troubleshoot electrical issues by performing circuit analysis, checking for tripped breakers, and inspecting connections.
- Replace faulty thermostats, capacitors, and refrigerant leaks to address common AC malfunctions and improve performance.
Identifying the Problem: Common AC Issues and Their Causes
When your air conditioner suddenly stops working, it can be frustrating and uncomfortable, especially during the hot summer months.
To identify the problem, start by checking for air leaks around windows, doors, and ducts. Air leaks can reduce your AC's efficiency and cause it to malfunction.
You should also inspect the installation of your AC unit, as faulty installations can lead to compressor failure, refrigerant leaks, and other issues.
Check if the unit is level, securely fastened, and properly connected to the power source. If you're not sure about the installation, it's best to consult the user manual or contact a professional.
Preparing for DIY Repair: Essential Tools and Safety Precautions
You're about to tackle that AC repair job, but first, you need to make sure you're properly equipped.
You'll require a set of essential tools to diagnose and fix the issue, and it's crucial you identify potential safety hazards to avoid injuries or further damage.
Gather Essential Tools
Before diving into the repair process, gather the essential tools to ensure a smooth and efficient DIY experience. Proper tool organization is key to a successful repair. You'll need a variety of tools to tackle the job, and having them within reach will save you time and frustration.
| Tool | Purpose |
|---|---|
| Screwdrivers | Remove screws and fasteners |
| Pliers | Grip and bend objects |
| Multimeter | Measure electrical voltage and current |
Keep your AC manuals handy, as they may provide specific guidance on tool usage and troubleshooting. With the right tools and a clear understanding of the repair process, you'll be well on your way to fixing your AC unit.
Identify Safety Hazards
Identifying potential safety hazards is crucial when taking on a DIY AC repair project.
You'll be working with electrical components, refrigerants, and moving parts, which can be dangerous if not handled properly.
Be aware of electrical risks, such as shock or electrocution, from exposed wires or faulty connections.
Fire hazards are also a concern, as sparks or overheated components can ignite flammable materials.
Make sure you understand the risks associated with each task and take necessary precautions to avoid them.
Take your time, and don't rush through the repair process.
A little caution can go a long way in preventing accidents and ensuring a successful repair.
Wear Protective Gear
Your DIY AC repair project demands attention to safety, and that starts with wearing the right protective gear.
You'll need hand protection to prevent cuts and abrasions from sharp edges and tools. Opt for heavy-duty gloves that provide grip and dexterity.
Don't forget to shield your face from debris and chemical splashes with a face shield or safety goggles. These will protect your eyes and skin from harm.
Additionally, consider wearing a long-sleeved shirt, pants, and closed-toe shoes to cover your skin. By wearing the right protective gear, you'll minimize the risk of injury and ensure a safe repair process.
Troubleshooting a Leaky Air Conditioner: Finding and Fixing Refrigerant Leaks
A refrigerant leak in your air conditioner can be a frustrating and costly problem, but it's not impossible to fix on your own.
To troubleshoot the issue, you'll need to detect the refrigerant leak. You can use a refrigerant detection kit, which usually includes a halogen torch and a detector. These tools will help you identify the source of the leak.
Once you've found the leak, you can take steps to fix it. Preventing future leaks is key, so make sure to inspect the system regularly and replace worn-out parts. Proper installation and maintenance can also go a long way in leak prevention.
Thermostat Troubles: Diagnosing and Replacing a Faulty Thermostat
While dealing with refrigerant leaks, it's easy to overlook another common issue that can leave your AC malfunctioning: a faulty thermostat.
A malfunctioning thermostat can cause your AC to blow warm air, fail to turn on, or constantly cycle on and off.
To diagnose the issue, check for:
- Incorrect thermostat calibration, which can be adjusted or replaced if necessary.
- A stuck or faulty thermostat switch, which may need to be cleaned or replaced.
- An outdated thermostat model, which may be due for a thermostat upgrade to a smart or programmable model.
If you've identified the problem, it's time to replace the faulty thermostat.
Make sure to turn off the power to the AC unit before starting the replacement process.
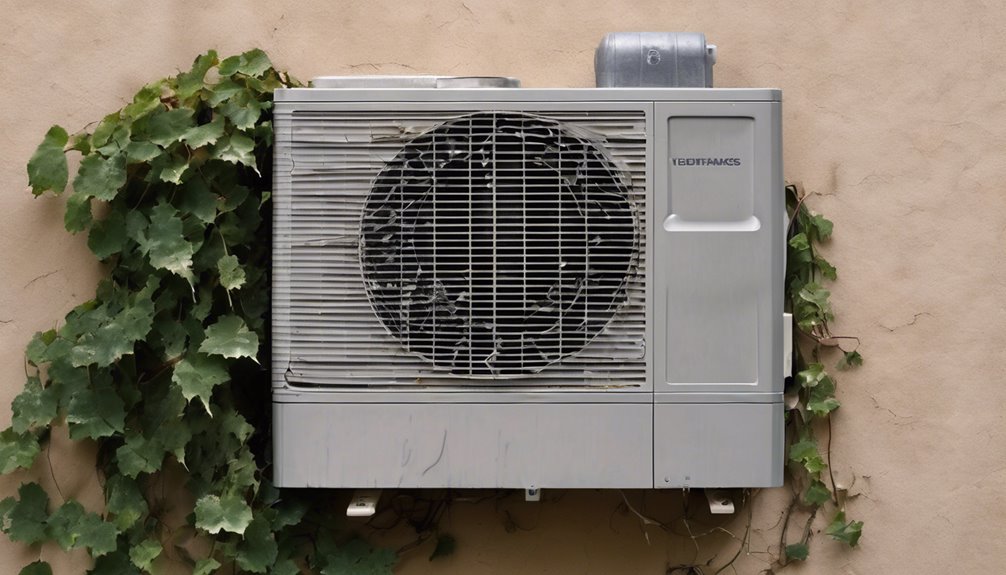
Cleaning the Condenser Coils: Why It's Crucial and How to Do It
You'll typically find the condenser coils located outside, either on the side or back of your AC unit, and they're usually pretty accessible.
To clean them effectively, you'll need to know the right methods and tools to use, which can vary depending on the type of coils you have and how dirty they are.
Coils Location and Accessibility
Most condenser coils are located outside, either on the top or side of the outdoor unit, making them relatively accessible for cleaning.
You'll often find them in a protective grille or cage to prevent damage. This design allows for easy coil maintenance, making it crucial to inspect and clean them regularly.
Take a closer look at your outdoor unit and you'll notice:
- The coils are usually located on the back, side, or top of the unit.
- They're often covered with a removable grille or mesh screen.
- The coils themselves are usually black, copper, or aluminum, with a serpentine or spiral design.
Cleaning Methods and Tools
Cleaning the condenser coils is a vital maintenance task that requires the right tools and techniques to get the job done effectively.
You'll need a few essential tools to clean the coils properly. Start by turning off the power to the AC unit.
Then, use a soft-bristled brush or a vacuum brush to gently sweep away any visible debris or dirt from the coils. Be careful not to bend or damage the delicate fins.
For more thorough cleaning, use a garden hose to spray the coils, making sure to aim the spray at an angle to avoid pushing dirt and debris further into the coils.
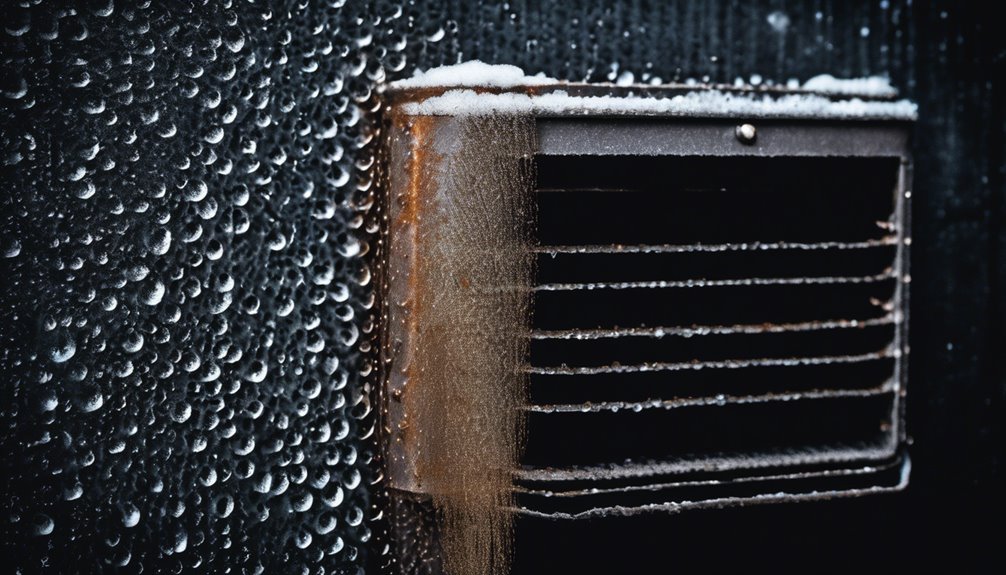
Dealing With Frozen Coils: Causes, Consequences, and Cures
When your air conditioner's coils freeze, it's not just an inconvenience – it's a serious issue that can cause significant damage to your unit if left unchecked.
Frozen coils can lead to increased energy bills, reduced airflow, and even compressor failure. To prevent this, you should prioritize coil maintenance and regular inspection.
- Dirty air filters or coils
- Low refrigerant levels
- Blocked airflow due to nearby obstructions
Fixing a Faulty Capacitor: A Common AC Repair You Can Do Yourself
When your AC isn't blowing cold air, you'll want to check the capacitor, a common culprit behind this problem.
You can identify a faulty capacitor by looking for signs like a burning smell, swollen or bulging components, or a humming noise from the compressor.
Identify the Problem
Your air conditioner's malfunction can be frustrating, especially on a sweltering summer day.
The first step to getting it back up and running is to identify the problem. Take a closer look at your AC's performance to determine what's going wrong.
- Reduced air quality: If the air coming from your AC is stale, musty, or filled with debris, it could be a sign that the capacitor is failing.
- Increased energy bills: A malfunctioning capacitor can cause your AC to work harder, leading to higher energy bills.
- System maintenance issues: If your AC is making strange noises, leaking refrigerant, or freezing up, it may be due to a faulty capacitor.
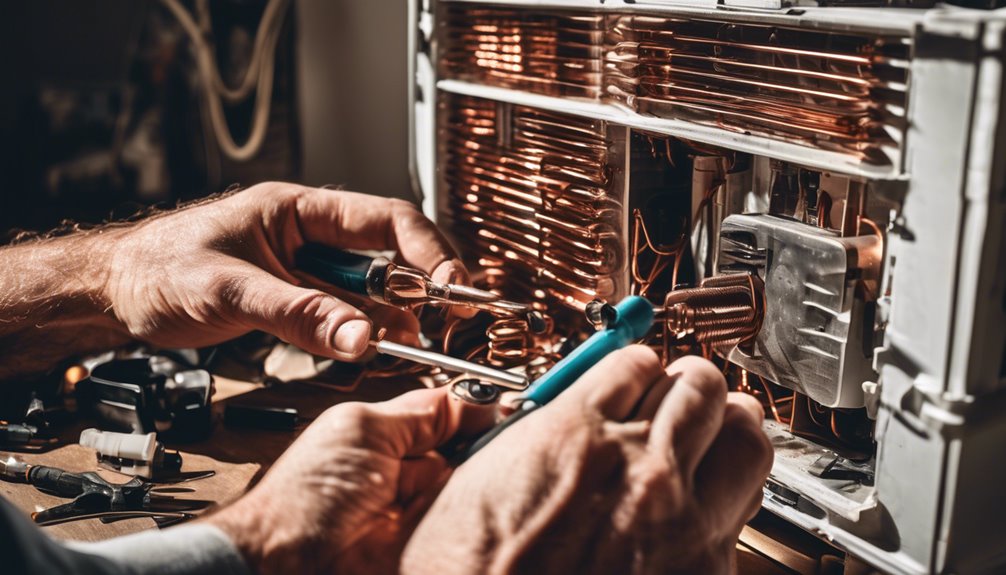
Replace the Capacitor
Now that you've identified the problem, it's time to roll up your sleeves and replace the faulty capacitor.
You'll need to determine the type of capacitor you need – there are run capacitors, start capacitors, and dual-run capacitors. Make sure to purchase one with the same voltage and capacitance rating as the original.
The capacitor lifespan typically ranges from 5 to 10 years, depending on usage and quality.
When replacing the capacitor, disconnect the power to the AC unit and discharge the capacitor using a capacitor discharge tool or a screwdriver with a insulated handle. Remove the old capacitor and install the new one, making sure it's securely fastened.
Reconnect the wires and turn the power back on to test the AC.
Replacing the Air Filter: A Simple but Essential Maintenance Task
A dirty air filter can wreak havoc on your AC's performance, increasing energy bills and reducing airflow.
Replacing it's a simple but essential maintenance task that you can do at home.
You'll enjoy several filter benefits, including improved indoor air quality, increased energy efficiency, and prolonged AC lifespan.
There are different filter types to choose from, such as fiberglass, pleated, and HEPA filters. Consider your specific needs and preferences when selecting a replacement filter.
- Check your filter every 1-3 months, depending on usage and manufacturer's instructions.
- Turn off the power to your AC unit before replacing the filter.
- Dispose of the old filter responsibly to prevent environmental harm.
Overheating Issues: Identifying and Addressing the Causes
An overheating AC unit can be a frustrating and costly issue, especially during the hot summer months when you need it most. When your AC overheats, it can reduce its cooling capacity, leading to higher energy bills and a less comfortable living space. To identify the cause, check for fan failure, refrigerant leaks, and clogged air ducts.
| Symptom | Cause | Solution |
|---|---|---|
| AC not blowing cold air | Fan Failure | Replace the fan motor or blades |
| AC leaking water | Refrigerant Leaks | Inspect and seal refrigerant lines |
| AC making strange noises | Clogged Air Ducts | Clean or replace air ducts |
| AC running constantly | Low Refrigerant | Recharge refrigerant levels |
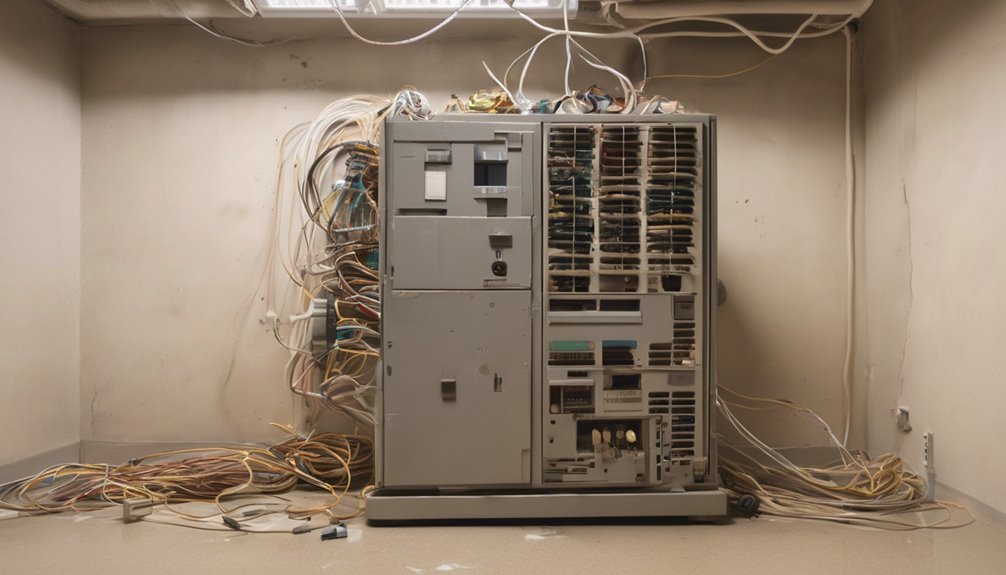
Electrical Problems: How to Diagnose and Repair AC Electrical Issues
As you've addressed overheating issues, it's likely you've ensured your AC unit is running efficiently, but that's only half the battle.
Now it's time to tackle electrical problems that can cause your AC to malfunction or even fail.
You'll need to perform a circuit analysis to identify any electrical surges or faults that may be affecting your AC's performance.
Check for:
- Tripped circuit breakers or blown fuses
- Loose or corroded connections
- Signs of electrical arcing or burning
Frequently Asked Questions
Can I Repair My AC Unit if It's Still Under Warranty?
Before attempting a DIY fix, you should check your AC unit's warranty status to avoid voiding it. If it's still under warranty, contact the manufacturer or supplier to report the issue and ask about their repair process.
How Long Does a Typical DIY AC Repair Take to Complete?
When tackling a DIY project, you'll likely face time constraints, but a typical repair can be completed over a weekend, assuming you're handy and have the right tools, taking around 2-5 hours, depending on the complexity of the issue.
Are There Any AC Repairs That Require a Professional's License?
When dealing with complex AC issues, you'll find that some repairs demand a professional's license due to licence requirements and the need for specialized tools, ensuring safety and expertise that only a trained technician can provide.
Can I Use a Regular Vacuum to Clean My Ac's Condenser Coils?
You're wondering if a regular vacuum can clean your AC's condenser coils. While it's tempting, regular vacuums aren't designed for coils maintenance and might push debris further in.
Are DIY AC Repair Kits Available for Purchase Online?
You can find DIY AC repair kits online, but be cautious when selecting one, as their effectiveness varies greatly, and some might not fix your issue, so research thoroughly before making a purchase to ensure you get a reliable kit.
Conclusion
You've made it through the DIY repair process, and your AC is humming along again. Pat yourself on the back! You've saved money and learned valuable skills. Remember, regular maintenance is key to preventing future issues. Keep your AC in top shape by cleaning the condenser coils, replacing the air filter, and checking for refrigerant leaks. With these simple tasks, you'll stay cool and comfortable all summer long.