To fix your cooling system, start by identifying potential issues before they cause engine damage. Check the coolant level, hoses, and radiator for signs of leakage or damage. Then, gather essential tools and materials, like pliers and a drain pan, to efficiently repair the system. You'll need to locate and fix leaks, inspect and replace hoses and belts, and flush out old coolant and debris. By following these steps, you'll be well on your way to a fully functional cooling system – but there's more to learn to ensure a successful DIY repair.
Key Takeaways
- Regularly inspect the cooling system for signs of leakage, rust, or corrosion to prevent engine damage and costly repairs.
- A well-organized set of tools, including pliers, wrenches, and screwdrivers, is crucial for efficient DIY repair and maintenance.
- Fixing leaks, replacing hoses and belts, and maintaining proper coolant levels are essential to prevent cooling system failures.
- Use a 50/50 mix of antifreeze and water, and follow the manufacturer's recommended ratio when refilling the system to ensure optimal performance.
- Implement a regular maintenance routine, including seasonal checks, to prevent future issues and ensure the cooling system's optimal performance.
Identifying Cooling System Problems
Since your car's cooling system plays a critical role in preventing engine damage, it's essential to recognize the warning signs of a problem before it's too late.
You should perform regular system checks to identify potential issues. Check the coolant level, hoses, and radiator for signs of leakage or damage.
Look for rust or corrosion on the radiator, water pump, and engine block. If you notice any of these signs, it may indicate a cooling failure.
Don't ignore these warnings, as they can lead to overheating, which can cause serious engine damage. Be proactive and address any issues promptly to prevent costly repairs down the road.
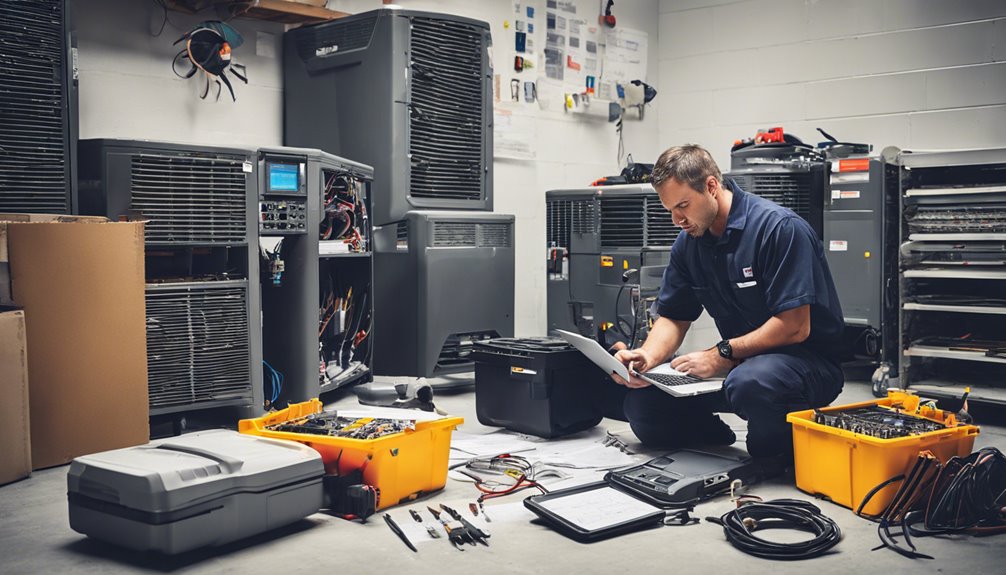
Gathering Essential Tools and Materials
Your toolkit and materials are crucial to fixing your cooling system.
You'll need a well-organized set of tools to tackle the job efficiently. Invest in a toolbox with separate compartments to keep your tools organized and within reach.
Essential tools include pliers, wrenches, screwdrivers, and a drain pan.
For material selection, prioritize quality over cost. You'll need coolant, hoses, belts, and other replacement parts specific to your vehicle's make and model.
Choose OEM or OEM-equivalent materials to ensure a proper fit and reliable performance.
Don't skip on tool organization and material selection, as they're key to a successful DIY repair.
Locating and Fixing Leaks
You'll need to identify suspect areas in your cooling system where leaks are likely to occur, such as hose connections, radiator seams, and water pump seals.
Next, you'll inspect these areas carefully, looking for signs of moisture, rust, or corrosion that can indicate a leak.
Once you've found a leak, you can fix it by replacing the faulty component or applying a sealant to stop the leak.
Identify Suspect Areas
Leaks are the most common culprits behind cooling system failures, and they can occur anywhere in the system.
To identify suspect areas, you'll need to pinpoint where the leak is most likely to occur. Look for signs of leakage, such as green or yellow fluid droplets, rust, or corrosion.
- Check the radiator and hoses for signs of wear or damage
- Inspect the water pump and its seals for any indication of leakage
- Examine the engine block and cylinder head for cracks or porous spots
- Verify that all connections and fittings are secure and not loose
Inspect and Fix
The cooling system's pressure test results will guide your search for leaks, and now it's time to get hands-on and fix them.
Inspect the suspect areas you identified earlier, looking for signs of moisture, rust, or corrosion. Check the hoses, radiator, water pump, and cooling fans for any damage or blockages.
If you find a leak, mark the spot and determine the best course of action to repair or replace the affected component. Remember, system maintenance is key to preventing future problems, so take your time and be thorough.
Fixing leaks now will save you headaches down the road.
Inspecting and Replacing Hoses and Belts
As your cooling system's unsung heroes, hoses and belts play a crucial role in keeping your engine from overheating, yet they're often overlooked until it's too late.
You should inspect them regularly to prevent damage. When inspecting hoses, look for signs of wear, such as cracks, soft spots, or Hose Crimping. If you find any damage, replace the hose immediately.
Belts, on the other hand, can show signs of wear like Belt Cracking or fraying.
- Check for signs of wear on the belt's surface
- Inspect the belt's tension and adjust it if necessary
- Look for signs of leakage around the hose connections
- Check the hoses' flexibility and replace them if they're brittle
Flushing Out Old Coolant and Debris
Now that you've inspected and potentially replaced your hoses and belts, it's time to tackle the old coolant and debris that may be lingering in your system. You'll need to flush out the old coolant to prevent contamination and ensure your new components work efficiently. For a coolant comparison, consider using a 50/50 mix of antifreeze and water for optimal performance.
| Debris Detection | Solution |
|---|---|
| Rust and corrosion | Use a rust-inhibiting coolant |
| Mineral deposits | Use a descaling solution |
| Sediment and dirt | Use a flush kit with a filter |
Remember to dispose of the old coolant responsibly and follow the manufacturer's instructions for the flush kit. After flushing, you'll be ready to refill your system with new coolant and get back on the road.
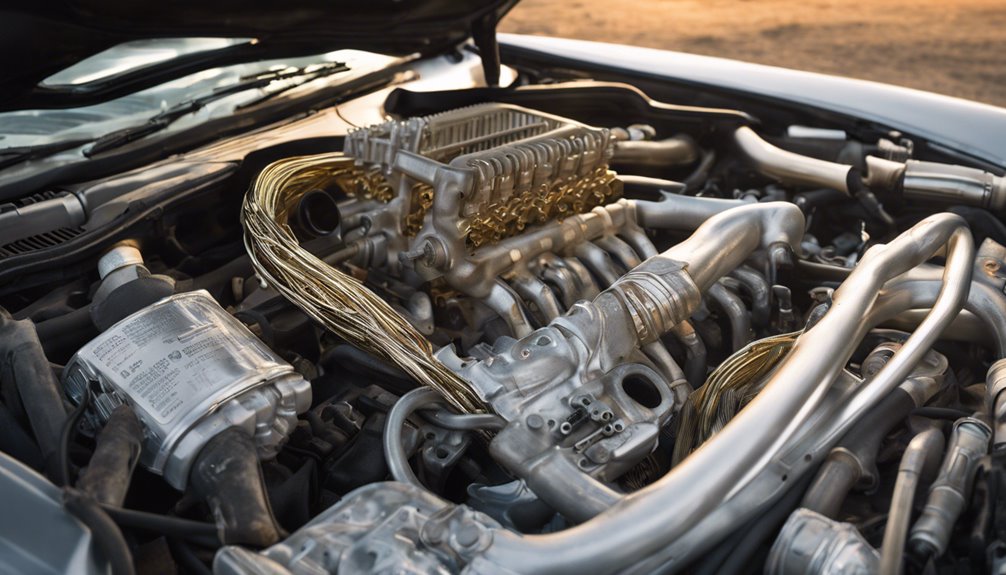
Replacing the Radiator and Water Pump
You've flushed out the old coolant and debris, now it's time to tackle the radiator and water pump.
To get started, you'll need to remove the radiator, which can be a bit of a challenge, especially if you're not sure what you're looking for.
As you take it out, inspect it closely for signs of leaks or damage that may have contributed to your cooling system's failure.
Radiator Removal Process
Your radiator's removal is a crucial step in replacing the radiator and water pump.
It's essential to understand the radiator design and its components to ensure a smooth removal process. Improper removal can lead to damage to the surrounding components, making the repair more complicated.
Before you start, make sure to:
- Drain the coolant from the radiator to prevent spills and messes.
- Disconnect the hoses and electrical connections from the radiator.
- Remove the fan shroud and any other components that may be obstructing access to the radiator.
- Take note of the radiator's mounting points and any specific bolts or clips that hold it in place.
Proper radiator maintenance is key to extending the life of your cooling system.
Identifying Leaks and Damage
Leaks and damage can hide in plain sight, making it crucial to inspect the radiator and surrounding components carefully before replacing them. You'll want to check for signs of rust, corrosion, or mineral buildup, which can indicate leaks or blockages.
| Component | Inspection Point | What to Look For |
|---|---|---|
| Radiator | Hoses, fittings, and seams | Cracks, rust, or signs of leakage |
| Water Pump | Belt, pulley, and bearings | Wear, cracks, or unusual noises |
| Hoses | Clamps, connections, and surfaces | Cracks, rust, or signs of leakage |
Perform a pressure test to identify any leaks or weaknesses in the system. Use a pressure testing kit to pressurize the system and listen for hissing sounds or look for signs of leakage. This will help you pinpoint the source of the problem and ensure a successful repair.
New Pump Installation Tips
With the inspection and pressure test complete, it's time to focus on replacing the radiator and water pump – a crucial step in fixing your cooling system.
When selecting a new pump, make sure it's compatible with your vehicle's make and model. Consider factors like flow rate, pressure, and electrical requirements.
- Ensure the new pump is properly primed to prevent airlocks and damage.
- Refer to your vehicle's repair manual for specific installation instructions.
- Take your time and work carefully to avoid damaging surrounding components.
- Double-check all connections and hoses before refilling the cooling system.
Bleeding the Cooling System
As you prepare to tackle air pockets and restore proper circulation, bleeding the cooling system becomes a crucial step in fixing your car's temperature troubles.
You'll need to remove airlocks that prevent coolant from flowing freely. Start by pressurizing the system to identify where air pockets are hiding. Use a cooling system pressure tester to pinpoint the exact location.
Once you've found the airlock, use the appropriate tools to remove it. This might involve loosening fittings or using a vacuum pump to extract the air.
With the airlock removed, you can refill the system and check for leaks. Repeat the process until the system is air-free and functioning smoothly.
Checking and Replacing Thermostats and Sensors
Now that you've purged the cooling system of air pockets, it's time to focus on the components that regulate engine temperature.
The thermostat and sensors play a crucial role in maintaining optimal engine performance. If they're faulty, your engine may overheat or run inefficiently.
To ensure proper function, check the thermostat's calibration and perform sensor diagnostics.
When checking the thermostat, look for signs of wear or damage. If it's stuck open or closed, replace it with a new one.
For sensor diagnostics, use a multimeter to test for continuity and voltage. Check the following:
- Cooling fan sensor operation
- Coolant temperature sensor accuracy
- Thermostat's opening and closing points
- Sensor wiring and connections for damage
Refilling With New Coolant and Antifreeze
You've completed the crucial steps of purging air pockets and checking the thermostat and sensors, so it's time to refill your cooling system with new coolant and antifreeze.
When selecting a coolant, choose from three main types: green (traditional), yellow (organic acid technology), and orange (phosphate-free). Ensure you select the correct type for your vehicle.
Next, mix the antifreeze with distilled water according to the manufacturer's recommended ratio, typically 50:50 or 60:40. Don't over- or under-dilute, as this can affect performance and longevity.
Pour the mixture into the radiator slowly, allowing it to flow into the system. Make sure the cap is secure, then start the engine and check for leaks.
Testing and Maintaining Your Cooling System
With your cooling system refilled and running, it's time to verify its performance and implement a maintenance routine to prevent future issues.
You'll want to check the coolant level regularly, looking for signs of leakage or contamination.
Perform seasonal checks to ensure your cooling system is ready for extreme temperatures.
- Check the coolant's freezing and boiling points to ensure they're within the recommended range.
- Inspect hoses and belts for signs of wear or damage.
- Look for rust or corrosion on metal components.
- Check the radiator cap for proper sealing and pressure.
Frequently Asked Questions
Can I Use a Makeshift Repair for a Temporary Fix?
You're wondering if a makeshift repair will cut it for a temporary fix? In an emergency, an emergency patch or quick fix might buy you some time, but be aware it's not a permanent solution and can lead to further damage down the road.
How Do I Prevent Corrosion in My Cooling System?
You'll want to add corrosion inhibitors to your coolant to prevent rust and decay. Look for products offering rust protection, and follow the manufacturer's instructions for application. This will help extend the life of your system.
What Type of Coolant Is Compatible With My Vehicle?
You'll need to check your vehicle's manual to find the recommended coolant type and capacity, ensuring fluid compatibility to avoid damage; look for the API certification mark to guarantee it meets your vehicle's standards.
Can I Reuse Old Coolant or Antifreeze?
You're wondering if you can reuse old coolant or antifreeze, but it's not recommended. Instead, consider coolant recycling and proper antifreeze disposal to protect the environment and ensure your vehicle's cooling system runs efficiently and safely.
Do I Need to Replace the Entire Hose or Just the Damaged Part?
You're wondering if you need to replace the entire hose or just the damaged part. Inspect the hose thoroughly using techniques like visual examination and pressure testing. Consider the hose material options, such as rubber, silicone, or EPDM, to decide the best course of action.
Conclusion
You've made it! Your cooling system's fixed, and your vehicle's running smoothly again. Pat yourself on the back – you've saved money and gained valuable DIY experience. Remember to check your coolant levels regularly and keep an eye out for signs of wear. Stay on top of maintenance to prevent future problems. Now, get back on the road and enjoy the ride, knowing your cooling system's in top shape.