If your AC stopped working after a power outage, don't panic! First, check your circuit breaker or fuse box to ensure no switches were tripped or fuses blown. Verify the AC's power cord is securely plugged in and the outlet isn't tripped. Inspect the capacitor for signs of damage, and check your thermostat settings to ensure they're correct. You might be surprised at how often these simple checks resolve the issue. But if not, you'll want to investigate further to get your AC up and running again – and we'll guide you through that process.
Key Takeaways
- Check the circuit breaker or fuse box for tripped switches or blown fuses, as power surges during outages can cause AC failure.
- Inspect the AC's capacitor for signs of damage or wear, as power surges can also damage AC components.
- Verify the thermostat settings to ensure they are correctly configured, as incorrect settings can prevent the AC from turning on.
- Check the AC's electrical connections and power cord for damage or wear, as overloaded circuits can cause AC failure.
- Consider consulting the AC's manual or seeking professional help if the issue persists, as electrical storms can cause electrical shock to AC units.
Check the Circuit Breaker or Fuse Box
When your AC suddenly stops working, it's easy to assume the worst, but before you call a professional, take a moment to check the circuit breaker or fuse box.
It's possible that a faulty wiring issue or electrical surge caused the breaker to trip or a fuse to blow. Check the breaker or fuse box to see if any switches have been flipped or fuses have been blown.
If so, simply reset the breaker or replace the fuse, and your AC should be back up and running. If the issue persists, it may be a sign of a more serious problem requiring professional attention.
Ensure the AC Is Receiving Power
If your AC still isn't working after checking the circuit breaker or fuse box, it's time to ensure it's receiving power.
You'll want to verify that the AC is connected to a working power source. Check the electrical connections to the AC unit, making sure they're secure and not damaged. Also, inspect the power cord for any signs of wear or damage.
If you're using an extension cord, try plugging the AC directly into the wall outlet to rule out any issues with the cord. By ensuring the AC is receiving power, you can eliminate a common cause of malfunction and move on to more complex troubleshooting steps.
Look for Tripped GFCI Outlets
Ground Fault Circuit Interrupter (GFCI) outlets are designed to trip when they detect even the slightest imbalance in the electrical current, which can happen when an AC is malfunctioning.
If your AC stopped working after a power outage, it's possible that a GFCI outlet tripped. You'll need to identify and reset the tripped outlet.
To do this, you'll need to perform some outlet testing. Here's what to do:
- Check all GFCI outlets in your home, especially those near the AC unit.
- Look for a tripped or popped button on the outlet.
- Press the "reset" button to restore power to the outlet.
- If the outlet trips again, it may indicate a more serious electrical issue that requires professional attention.
After resetting the GFCI outlet, try turning on your AC again to see if it's working properly.
Inspect the AC's Capacitor
Now that you've checked and reset any tripped GFCI outlets, it's time to investigate another potential culprit behind your AC's malfunction. The capacitor is a crucial component that helps power the AC's compressor and fan motor. A faulty capacitor can prevent the AC from working altogether.
| Capacitor Testing | What to Look For |
|---|---|
| Visual Inspection | Cracks, rust, or burn marks on the capacitor |
| Voltage Test | Abnormal voltage readings using a multimeter |
| Capacitance Test | Inconsistent capacitance values using a capacitance meter |
| Physical Condition | Swollen, bulging, or leaking capacitor |
| Age | Capacitor nearing or exceeding its expected lifespan |
If you suspect a faulty capacitor, consider capacitor testing or replacement. Remember to always follow safety guidelines when working with electrical components.
Check the Thermostat Settings
You've ruled out a faulty capacitor, so it's time to shift your attention to the thermostat settings, which could be the root of your AC's malfunction.
Time to investigate thermostat settings, a likely culprit behind your air conditioner's malfunction.
Now, take a closer look at your thermostat's settings to ensure they're correctly configured.
Check the following:
- Summer settings: Ensure your thermostat is set to "cool" mode, and the temperature is set low enough to trigger the AC to turn on.
- Energy saver: If you have an energy-saving feature, it might be preventing your AC from turning on. Try disabling it to see if it resolves the issue.
- Schedule: Check if your thermostat is set to a schedule that might be conflicting with your desired cooling settings.
- Battery: If your thermostat uses batteries, try replacing them to rule out any power issues.
Verify the Ac's Air Filter Is Clean
A dirty air filter can significantly impede your AC's performance, causing it to work less efficiently or even stop working altogether. Regular filter maintenance is crucial to ensure your AC runs smoothly. Check your air filter and replace it if it's dirty or clogged. You can refer to your AC's manual for the recommended filter replacement schedule.
| Filter Condition | Action |
|---|---|
| Dirty or clogged | Replace with a new filter |
| Clean but old | Replace with a new filter according to the recommended schedule |
| Clean and new | No action needed, proceed to the next step |
| Uncertain | Inspect the filter closely and decide accordingly |
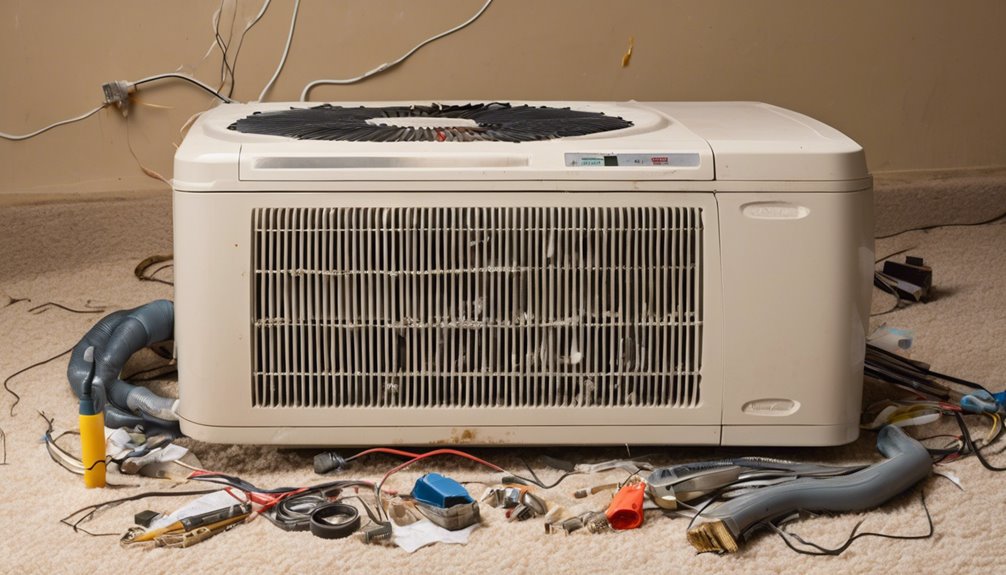
Search for Signs of Physical Damage
You'll want to inspect your AC unit for any signs of physical damage that could be causing it to malfunction.
Check for burn marks, which can indicate an electrical issue, and inspect the wiring and cords for any signs of wear or damage.
Also, look for water damage, which can be a common issue in air conditioning units, especially if they're installed in humid or wet environments.
Check for Burn Marks
Burn marks or signs of physical damage on your AC unit can be a clear indication of a serious issue.
After a power outage, it's essential to inspect your AC unit for any signs of damage.
Check for burn marks, scorching, or melting on the exterior or interior of the unit. If you notice a strong burn smell, it could be a sign of an electrical surge that damaged the internal components.
Look for the following signs of physical damage:
- Burn marks or scorching on the exterior or interior of the unit
- Melting or deformation of plastic or metal components
- Cracked or broken parts, such as fan blades or housing
- Signs of overheating, such as warped or discolored surfaces
Inspect Wiring and Cords
After inspecting your AC unit for burn marks and physical damage, it's time to shift your attention to the wiring and cords.
Check the power cord for any signs of wear, such as fraying or exposed wires. Look for wire damage, like cracks or corrosion, which can cause a short circuit.
Also, inspect the cord for tangles or kinks, as these can restrict airflow and cause the AC to malfunction. Make sure all connections are secure and not loose.
If you find any damage, you may need to replace the cord or wiring to get your AC up and running again. Carefully examine each wire and cord to identify any potential issues.
Look for Water Damage
Water damage can be a silent killer of your AC unit, sneaking up on you when you least expect it.
After a power outage, it's essential to inspect your AC for signs of water damage.
Check for water stains or mineral deposits around the unit, which can indicate moisture seepage.
- Look for rust or corrosion on the exterior and interior components.
- Check for musty odors or mildew smells, which can signal water damage.
- Inspect the condensate drain line for blockages or kinks that could cause water to accumulate.
- Use a moisture detection tool to identify hidden water damage behind walls or in ceilings.
Consult the AC's Manual and Error Codes
Your air conditioner's manual is a valuable resource that can help you troubleshoot the issue, so grab it and start searching for answers.
Perform a manual analysis to identify possible causes of the problem. Check if there are any error codes or lights flashing on the AC's display.
If you find an error code, start error deciphering to understand what it means. You can usually find a list of error codes and their meanings in the manual.
This will give you a better idea of what's wrong with your AC and help you decide whether you can fix it yourself or need professional assistance.
Frequently Asked Questions
Can I Fix My AC Unit on My Own Without a Professional?
You can try DIY troubleshooting and basic AC maintenance tasks, like cleaning filters and checking circuit breakers, but if you're not comfortable or unsure, it's best to call a pro to avoid further damage or safety risks.
Will a Power Outage Damage My Ac's Electrical Components?
You're right to worry about power outages damaging your AC's electrical components. Voltage spikes and electrical surges during outages can indeed harm your unit's internal parts, like capacitors and circuit boards, causing permanent damage if not properly protected.
How Long Does It Take to Fix an AC Unit After a Power Outage?
You'll typically need a few hours to a few days to fix your AC unit after a power outage, depending on the extent of the electrical surge damage. Try a system reset first, but if that doesn't work, a pro may need to replace damaged components.
Can a Power Outage Cause My AC to Leak Refrigerant?
You're wondering if a power outage can cause your AC to leak refrigerant. Yes, it's possible, as the outage can trigger a malfunction, leading to refrigerant loss and reduced cooling capacity.
Will My Home Insurance Cover AC Repairs After a Power Outage?
You'll need to review your home insurance policy to see if it covers AC repairs due to a power outage. Check for policy limitations and exclusions before filing insurance claims, as coverage varies depending on the provider and your specific plan.
Conclusion
You've troubleshooted the common issues and still can't get your AC to work after a power outage. Don't sweat it! You've taken the right steps to identify the problem. If you're still stumped, it might be time to call a professional to diagnose and fix the issue. Remember to take preventative measures to avoid future AC failures, like regular maintenance and surge protectors. With a little patience and persistence, you'll be back to cool comfort in no time.