When your air conditioner breaks down, you're not just sweating from the heat – you're also wasting money on energy bills and risking costly repairs. To get your AC running smoothly again, start by checking for leaks in the coils and refrigerant, then inspect your thermostat and electrical connections. Make sure to clean or replace clogged air filters and optimize airflow around your vents. If you suspect frozen coils or drainage issues, you'll need to take action to prevent water damage. By identifying and fixing these common problems, you'll be back to cool comfort in no time – and there's more to learn to ensure your AC keeps humming along.
Key Takeaways
- Check coils and refrigerant for leaks, damage, and blockages, and ensure proper levels to avoid system failure and energy waste.
- Inspect and clean thermostats, electrical connections, and wiring to prevent inconsistent temperatures and electrical issues.
- Regularly clean or replace air filters and optimize airflow to improve AC performance and reduce energy bills.
- Inspect the condensate drain line and drain pan for clogs, kinks, or damage to prevent water damage and corrosion.
- Always turn off the power to the AC unit before attempting any repairs, and use multimeter readings and leak detectors to diagnose issues.
Common AC Problems and How to Identify Them
When your air conditioner suddenly stops blowing cold air or starts making strange noises, it can be frustrating and uncomfortable.
You're not alone – air conditioning has been a staple of summer comfort since its invention in 1902.
But before you call a professional, take a step back and assess the situation. Is the thermostat set correctly?
Are the air filters clean?
Summer preparedness is key to avoiding AC breakdowns.
Regular maintenance can prevent many common issues.
Check your unit's power source, ensure proper drainage, and inspect the condenser coils for dirt and debris.
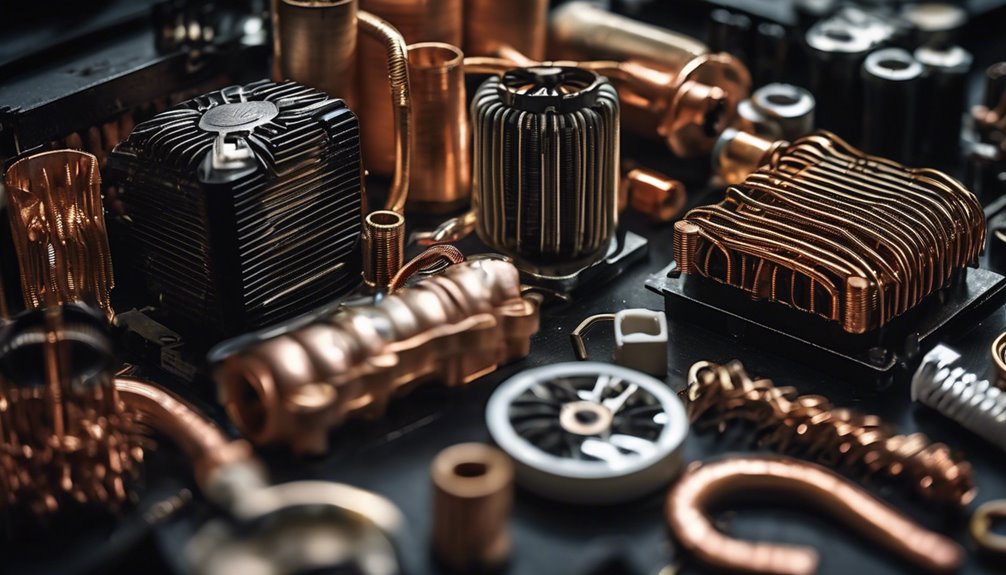
Leaky Coils and Refrigerant Issues
Your air conditioner's coils and refrigerant are crucial components that can make or break your cooling experience.
Leaks in these areas can lead to reduced airflow, increased energy bills, and even complete system failure. If you suspect a leak, look for coil corrosion signs such as rust, dirt buildup, or ice accumulation on the coils.
Refrigerant overcharge can also cause the system to malfunction.
- Check for hissing sounds or oily residue near the coils to detect refrigerant leaks
- Inspect the coils for damage or blockages that could impede airflow
- Ensure proper refrigerant levels to avoid overcharge or undercharge
- Use a leak detector or UV dye to identify hard-to-spot leaks
- Consider replacing the coils or refrigerant lines if the damage is extensive
Faulty Thermostats and Temperature Control
You're probably familiar with the frustration of an AC that won't cool or heat properly, but have you checked your thermostat lately?
A faulty thermostat can be the culprit behind these issues, and it's surprisingly easy to fix. Start by checking the battery life, adjusting the temperature settings, and cleaning the sensors to get your AC back on track.
Check Thermostat Battery Life
A dead thermostat battery can silently sabotage your air conditioner's performance, leading to inconsistent temperatures and unnecessary energy waste.
You mightn't even notice it's happening, but your energy bills will. To avoid this, you need to check your thermostat's battery life regularly.
- Make sure you're using the correct type of battery for your thermostat.
- Check the battery level indicator on your thermostat to know when it's running low.
- Replace batteries at least once a year, or as recommended by the manufacturer.
- Clean the battery contacts to ensure a good connection.
- Consider upgrading to a thermostat with a long-lasting battery or one that can be powered by your home's electrical system, eliminating the need for battery maintenance and thermostat calibration issues.
Adjust Temperature Settings
Faulty thermostats can wreak havoc on your air conditioner's temperature control, causing it to malfunction and drive up your energy bills.
To avoid this, you need to adjust your temperature settings correctly. During summer, set your thermostat to a higher temperature when you're not home or when you're sleeping. This will help you achieve energy efficiency and save on your bills.
Try setting it to 78°F (25°C) when you're away or sleeping, and 72°F (22°C) when you're home. You can also consider installing a smart thermostat that can learn your schedule and adjust the temperature accordingly.
Clean Thermostat Sensors
Every few months, dirt and dust accumulate on your thermostat's sensors, hindering their ability to accurately read the room's temperature.
This can lead to incorrect thermostat calibration, causing your AC to malfunction. Cleaning the sensors is a simple DIY task that can improve sensor accuracy.
To clean your thermostat's sensors:
- Gently remove the thermostat cover to access the sensors
- Use a soft-bristled brush or a can of compressed air to remove dirt and dust
- Dampen a cloth with water, but make sure it's not soaking wet, and gently wipe the sensors
- Use a dry cloth to wipe away any excess moisture
- Reassemble the thermostat and test its accuracy
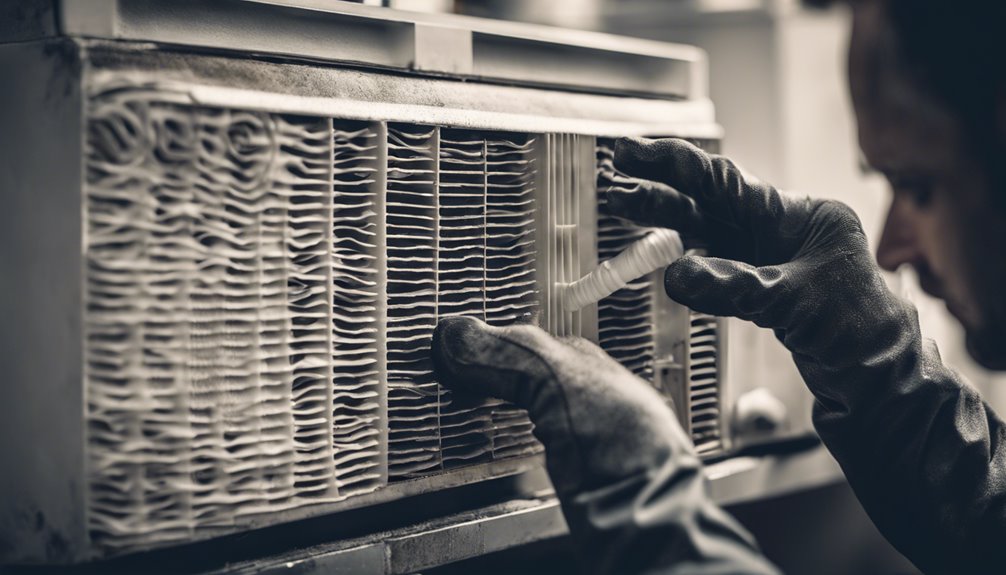
Clogged Air Filters and Poor Airflow
Clogged air filters and poor airflow are common issues that can significantly reduce your AC's performance and increase your energy bills.
You can easily fix this problem by cleaning or replacing your air filters regularly. There are several filter cleaning methods you can try, such as vacuuming or washing them with soap and water. Make sure to dry them thoroughly before reinstalling them.
Additionally, you can optimize airflow by ensuring that your furniture and curtains aren't blocking your vents. You can also try rearranging your furniture to improve airflow.
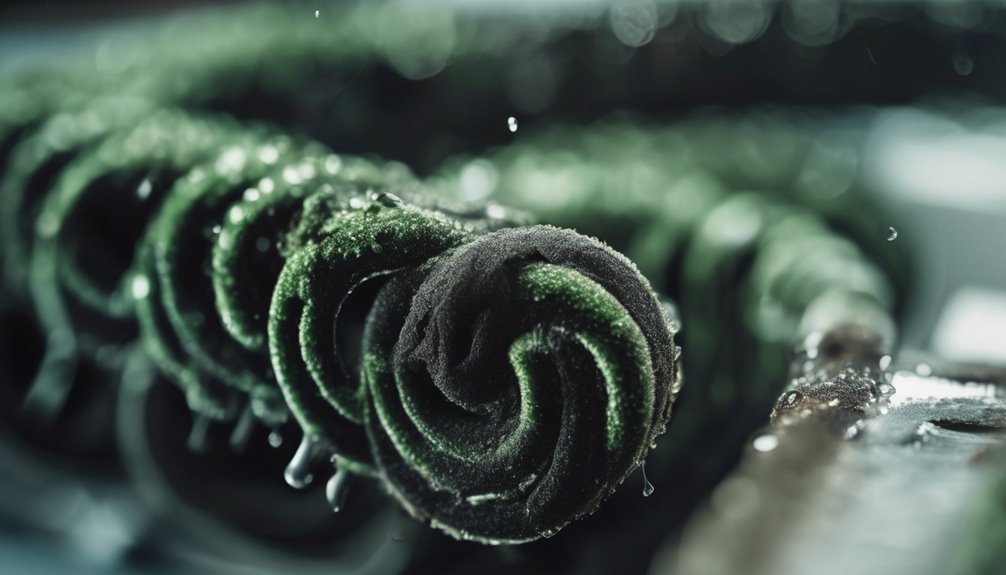
Frozen Coils and Ice Buildup
You've probably noticed your AC blowing warm air or not turning on at all, and it's likely due to frozen coils and ice buildup.
This common issue occurs when your coils are dirty, your AC is low on refrigerant, or the airflow is restricted, causing the moisture in the air to freeze.
Now, let's take a closer look at what causes ice buildup, how to clean the coils, and how to defrost the system to get your AC running smoothly again.
Causes of Ice Buildup
Three common culprits behind ice buildup in your AC unit are refrigerant leaks, dirty air filters, and malfunctioning thermostats.
These issues can cause ice accumulation on your coils, leading to blocked airflow and reduced cooling performance.
- Refrigerant leaks reduce the pressure in your AC system, causing the liquid refrigerant to expand and freeze.
- Dirty air filters restrict airflow, causing the cold air to become even colder and eventually freeze.
- Malfunctioning thermostats can cause the AC to run continuously, leading to excessive cooling and ice buildup.
- Insufficient maintenance, such as failing to clean the condenser coils, can also contribute to ice buildup.
- Low refrigerant levels can cause the AC to work harder, leading to increased energy bills and ice accumulation.
Cleaning the Coils
When your AC's coils are frozen, it's time to take action.
Cleaning the coils is crucial for restoring airflow and preventing further damage. Start by turning off the power to your AC unit.
Next, locate the coils, usually found on the outdoor unit or behind the air handler. Inspect the coils for signs of dirt, dust, or debris.
Use a garden hose to gently spray the coils, working from the top down. This will help loosen any dirt or debris.
For tougher grime, use a soft-bristled brush or a specialized coil cleaning brush.
Regular coil maintenance is key to preventing frozen coils and ice buildup. Make coil inspection a part of your regular AC maintenance routine to keep your unit running efficiently.
Defrosting the System
If frozen coils and ice buildup are plaguing your AC, it's time to defrost the system.
Frost buildup can reduce airflow, increase energy bills, and even cause your AC to break down.
To defrost your AC, you'll need to:
- Locate the defrost timer, usually found in the condenser unit or thermostat
- Turn off the AC and let it sit for 30 minutes to an hour to allow the frost to melt
- Check for any blockages in the airflow, such as dirty filters or closed vents
- Use a garden hose to gently rinse away any remaining frost or debris
- Turn the AC back on and check if it's working properly
Electrical Issues and Tripped Breakers
One of the most common reasons your air conditioner suddenly stops working is due to electrical issues.
You'll often notice tripped breakers or blown fuses, which can be caused by faulty wiring or overheated systems. Check your circuit breaker panel for tripped switches and reset them if necessary.
Inspect the wiring for signs of wear, fraying, or overheating. Make sure all connections are secure and not loose. If you're not comfortable with electrical work, consider hiring a professional to diagnose and fix the issue.
Drainage Problems and Water Damage
Inspect your AC's drainage system to ensure it's not causing water damage or backups.
A faulty drainage system can lead to condensate overflow, resulting in waterlogging risks and costly repairs.
Check for clogs, kinks, or damage in the condensate drain line and drain pan. Make sure the drain pan is properly sloped to prevent water accumulation.
- Look for signs of water damage, such as rust, corrosion, or mineral buildup around the drain pan and surrounding areas.
- Check the drain line for blockages, like dirt, debris, or algae growth.
- Ensure the condensate drain line is properly connected to the AC unit and drain pan.
- Verify the drain pan is clean and free of debris to prevent clogs.
- Consider installing a condensate overflow protection device to prevent water damage.
Compressor Failure and Rejuvenation
How often do you find yourself facing a sweltering summer day with a broken air conditioner, only to discover that the compressor has failed?
A failed compressor can be a costly repair, but with proper compressor maintenance, you can prevent this from happening. Regularly cleaning the compressor coils and ensuring proper airflow can go a long way in extending its lifespan.
If your compressor has already failed, don't rush to replace it just yet. You can try compressor refurbishment to breathe new life into it. This process involves disassembling and cleaning the compressor, replacing worn-out parts, and reassembling it.
With the right tools and some patience, you can get your AC up and running again.
Capacitor Troubleshooting and Replacement
Your air conditioner's capacitor plays a crucial role in powering the compressor and fan motors, but when it fails, the entire system comes to a grinding halt.
That's why regular capacitor maintenance is essential to prevent breakdowns. A faulty capacitor can also lead to motor damage, resulting in costly repairs.
When troubleshooting, look out for signs like humming noises, tripped circuit breakers, or burning smells.
- Check the capacitor for visible signs of damage, such as cracks or bulges
- Ensure the capacitor is securely fastened to the AC unit
- Verify the capacitor's voltage rating matches the AC unit's requirements
- Consider upgrading to a high-quality capacitor for improved performance and reliability
- Always turn off the power to the AC unit before attempting any repairs
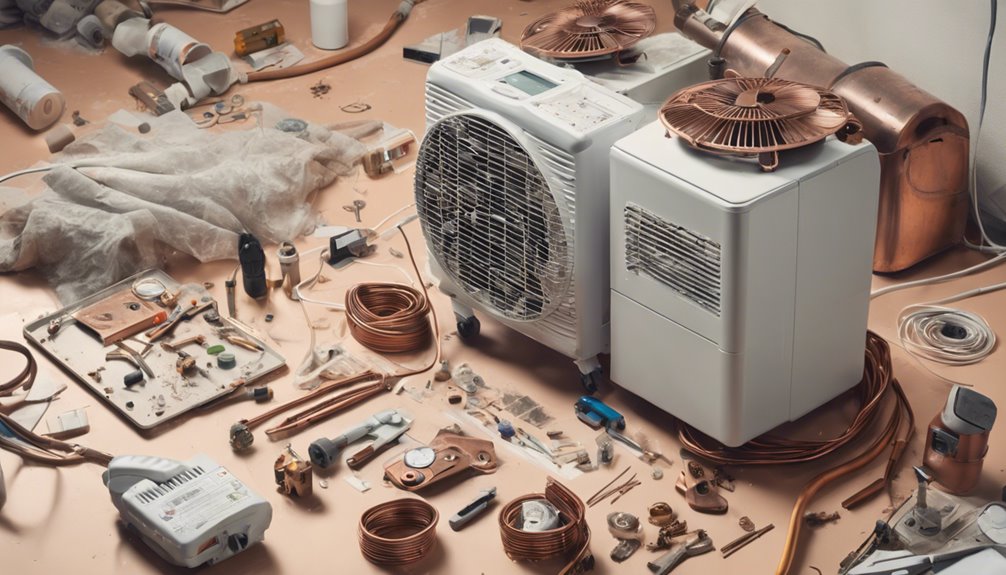
Advanced Troubleshooting Techniques and Tools
Now that you've covered the basics, it's time to move on to more advanced techniques to identify the problem with your AC.
You'll need to check your circuit breakers to ensure they're not tripped, take multimeter readings to diagnose electrical issues, and detect refrigerant leaks that can cause your AC to malfunction.
Circuit Breaker Checks
The circuit breaker is a crucial component in your AC's electrical system, and it's essential to check it when troubleshooting issues.
You'll want to ensure it's functioning correctly to prevent circuit overload and electrical shocks.
Start by inspecting the electrical panel to identify any tripped breakers.
- Check the breaker box for any signs of overheating, such as burn marks or rust
- Verify that all breakers are in the "on" position and not tripped
- Look for any signs of wear and tear, like corrosion or rust, on the breakers or wires
- Check the circuit breaker's amp rating to ensure it matches your AC's power requirements
- Consult your AC's manual to see if it recommends any specific circuit breaker checks or maintenance
Multimeter Readings Explained
As you dive deeper into AC troubleshooting, it's essential to understand multimeter readings, a crucial tool for identifying electrical issues. A multimeter measures voltage, current, and resistance, helping you diagnose problems like voltage drops or faulty components. To get accurate readings, ensure your multimeter is calibrated correctly. Consult your multimeter's user manual for calibration instructions.
| Measurement | Unit | Typical AC Reading |
|---|---|---|
| Voltage | V | 120-240V |
| Current | A | 5-20A |
| Resistance | Ω | 0-100Ω |
Understanding these readings will help you pinpoint issues in your AC's electrical system. By identifying voltage drops or unusual current flows, you can focus your troubleshooting efforts on the root cause of the problem.
Refrigerant Leak Detection
You're about to tackle one of the most critical and complex aspects of AC troubleshooting: refrigerant leak detection.
Refrigerant leaks can cause your AC to malfunction, increase energy bills, and even lead to system failure. To identify refrigerant leak symptoms, look for signs like hissing sounds, ice buildup, or warm air blowing from the vents.
Some common refrigerant detection methods include:
- Using a refrigerant leak detector kit
- Conducting a soap bubble test
- Performing a pressure test
- Inspecting the system for signs of oil residue
- Using ultraviolet (UV) dye to highlight leaks
Frequently Asked Questions
Can I Fix My AC Myself Without Professional Help?
You can fix your air conditioning unit yourself, but it depends on your DIY expertise. If you're comfortable with basic tools and troubleshooting, you might be able to diagnose and repair simple issues, saving time and money.
How Long Does an Average AC Repair Take?
You're wondering how long an AC repair takes? Well, it depends on the AC complexity, but on average, a simple fix can take 30 minutes to an hour, while more complex issues can take several hours or even days.
Can I Repair My AC During Peak Summer Hours?
You can try repairing your AC during peak summer hours, but it's not ideal. Summer preparation is key to avoiding breakdowns. If you're stuck with an emergency fix, prioritize your safety and consider a temporary solution until a more thorough repair can be done.
Do I Need to Replace My AC if It's Old?
If your AC is old, you're likely wondering if it's time to replace it. Age factors in, but it's not the only consideration. Check the efficiency ratings; if they're low, it might be more cost-effective to replace it, even if it's still running.
Will Fixing My AC Myself Void My Warranty?
You're wondering if fixing your AC yourself will void your warranty. Check your warranty duration and manufacturer restrictions; if you're still under warranty, DIY repairs might invalidate it, so it's essential to review the terms before taking matters into your own hands.
Conclusion
You've made it to the end of this DIY home repair guide, and by now, you should be equipped to tackle common AC issues head-on. Remember to stay proactive, regularly inspect your unit, and address problems before they escalate. With these troubleshooting techniques and tools, you'll be well on your way to saving money and staying cool all summer long. By taking matters into your own hands, you'll be the master of your AC's fate, and your wallet (and your comfort) will thank you.